Creating EC2 Instances & S3 bucket using Terraform
Prerequisites:
AWS-CLI: We will be using Amazon Web Services for creating our S3 bucket and EC2 instances, so we will require AWS-Command Line Interface installed.
IAM User: We'll need an IAM user who has access to EC2 and S3, also it should have programmatic access which comprises Access Keys & Secret Key.
Get-Set-Po:
Step:1 Create and launch an Ubuntu Server
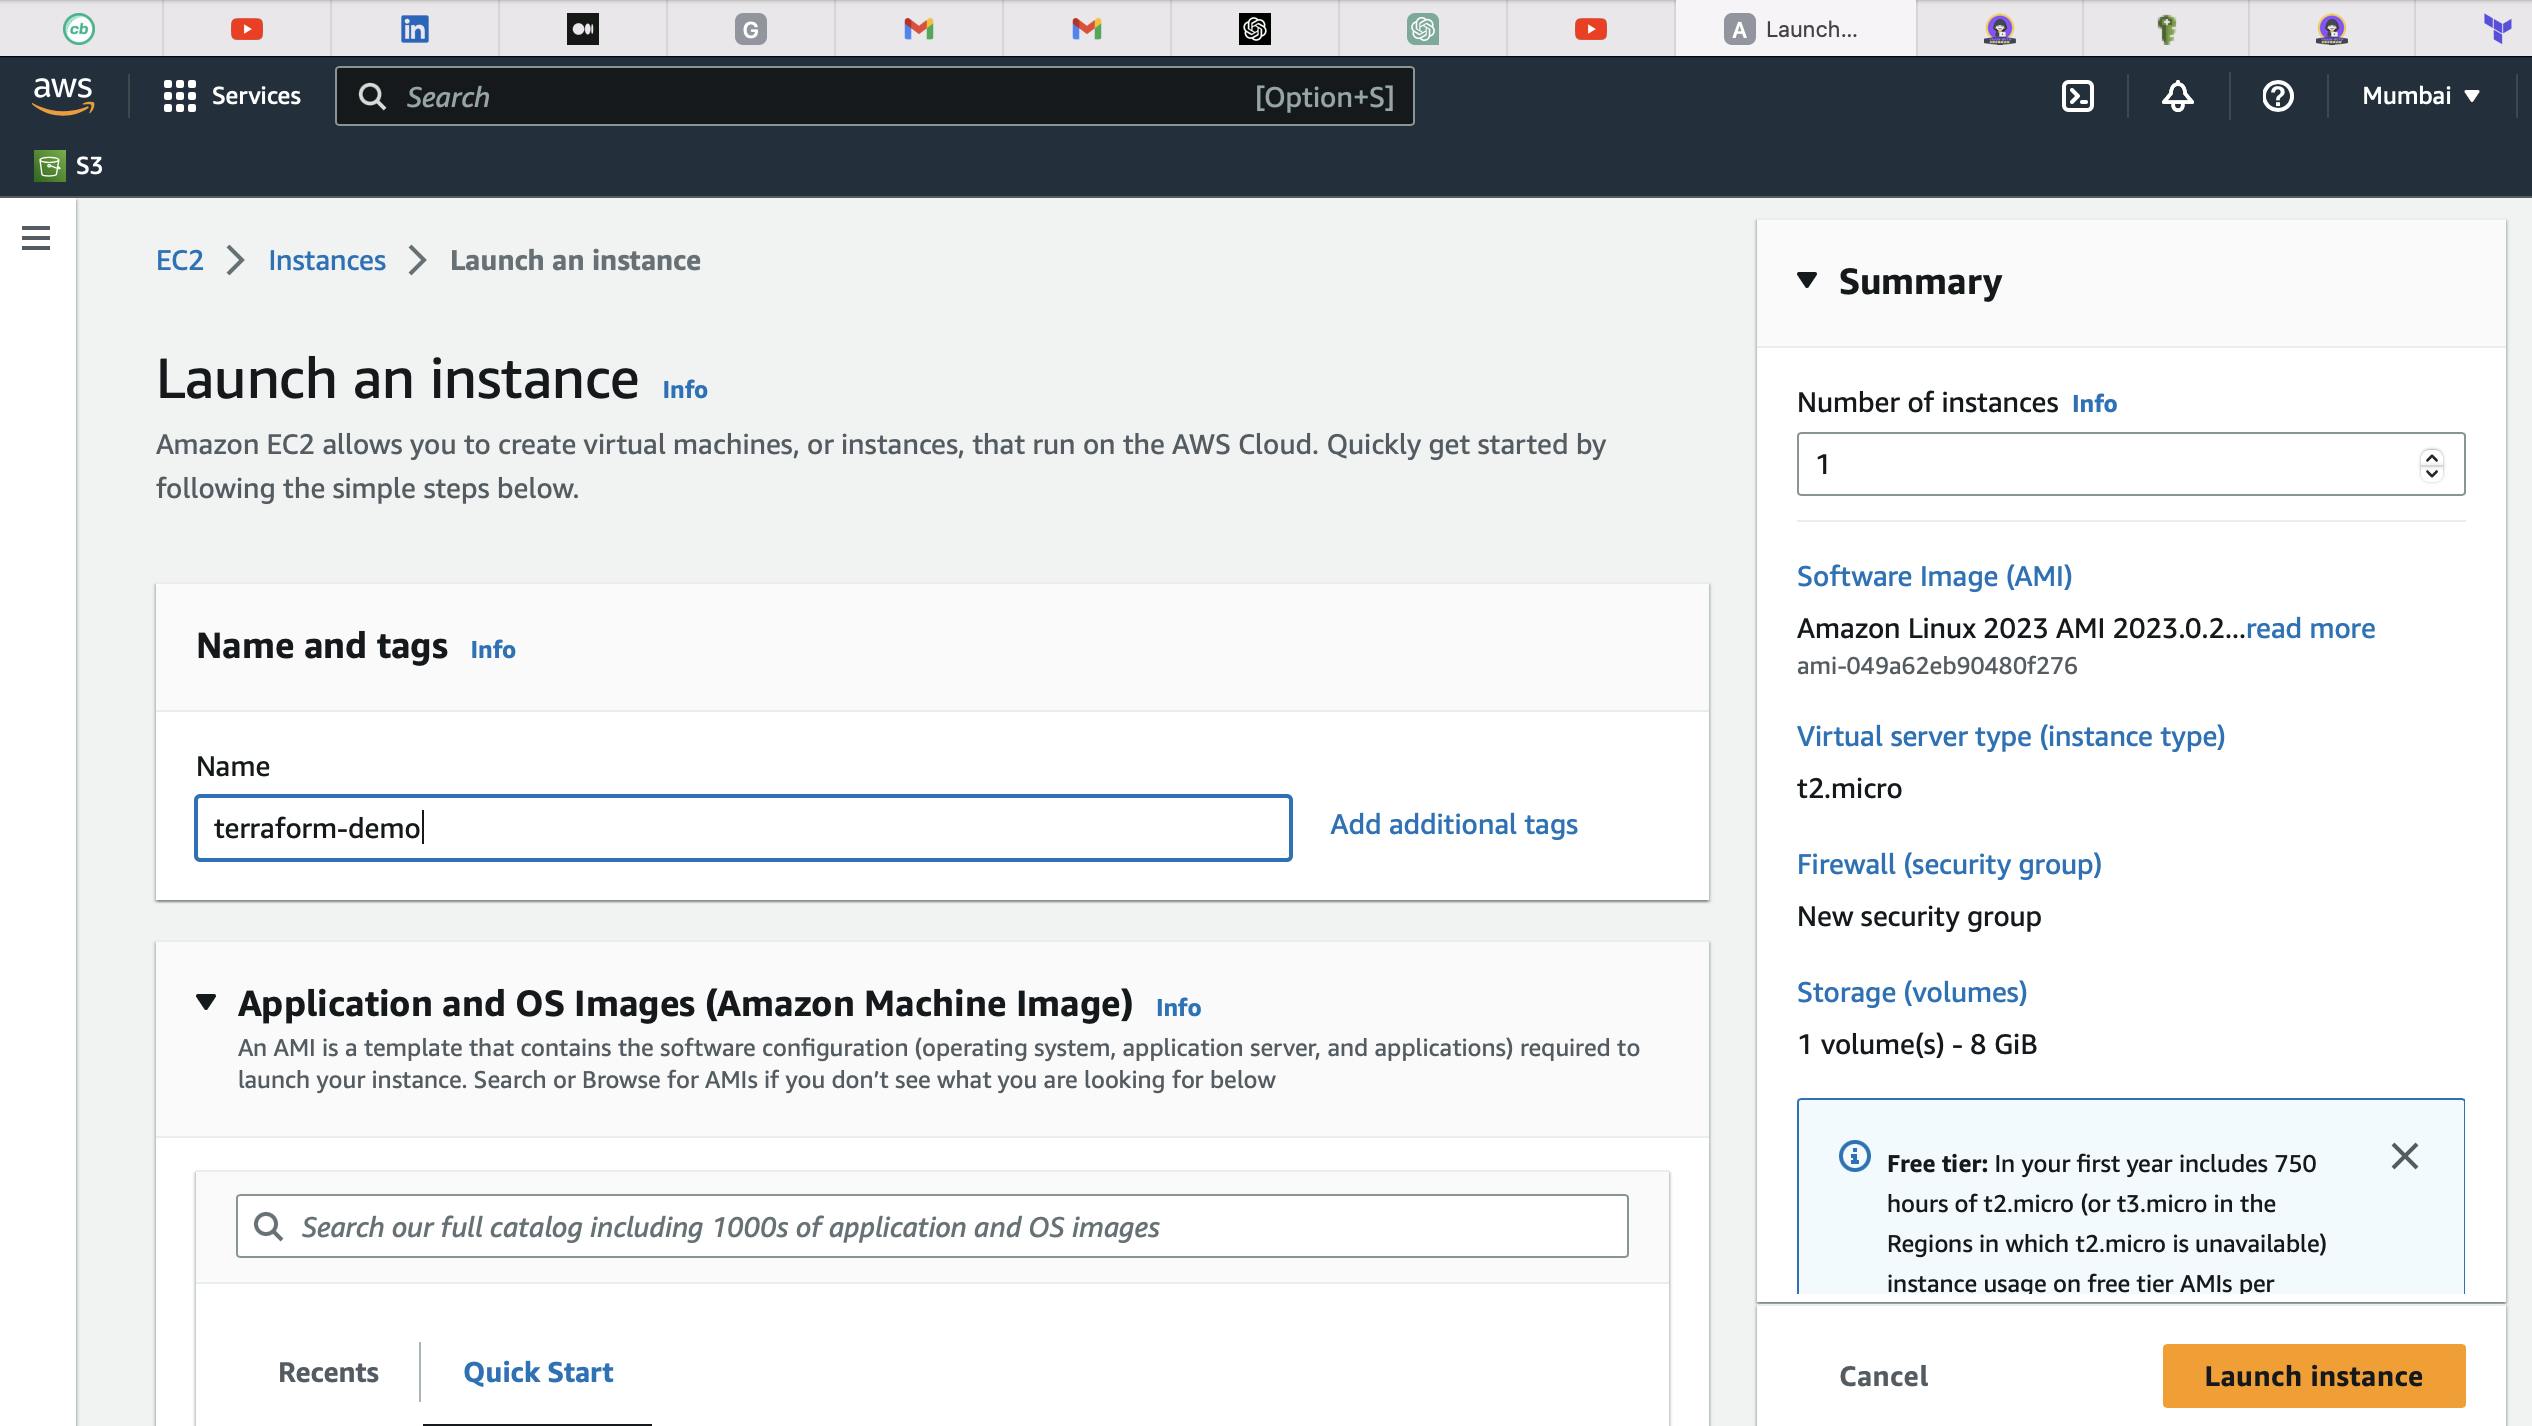
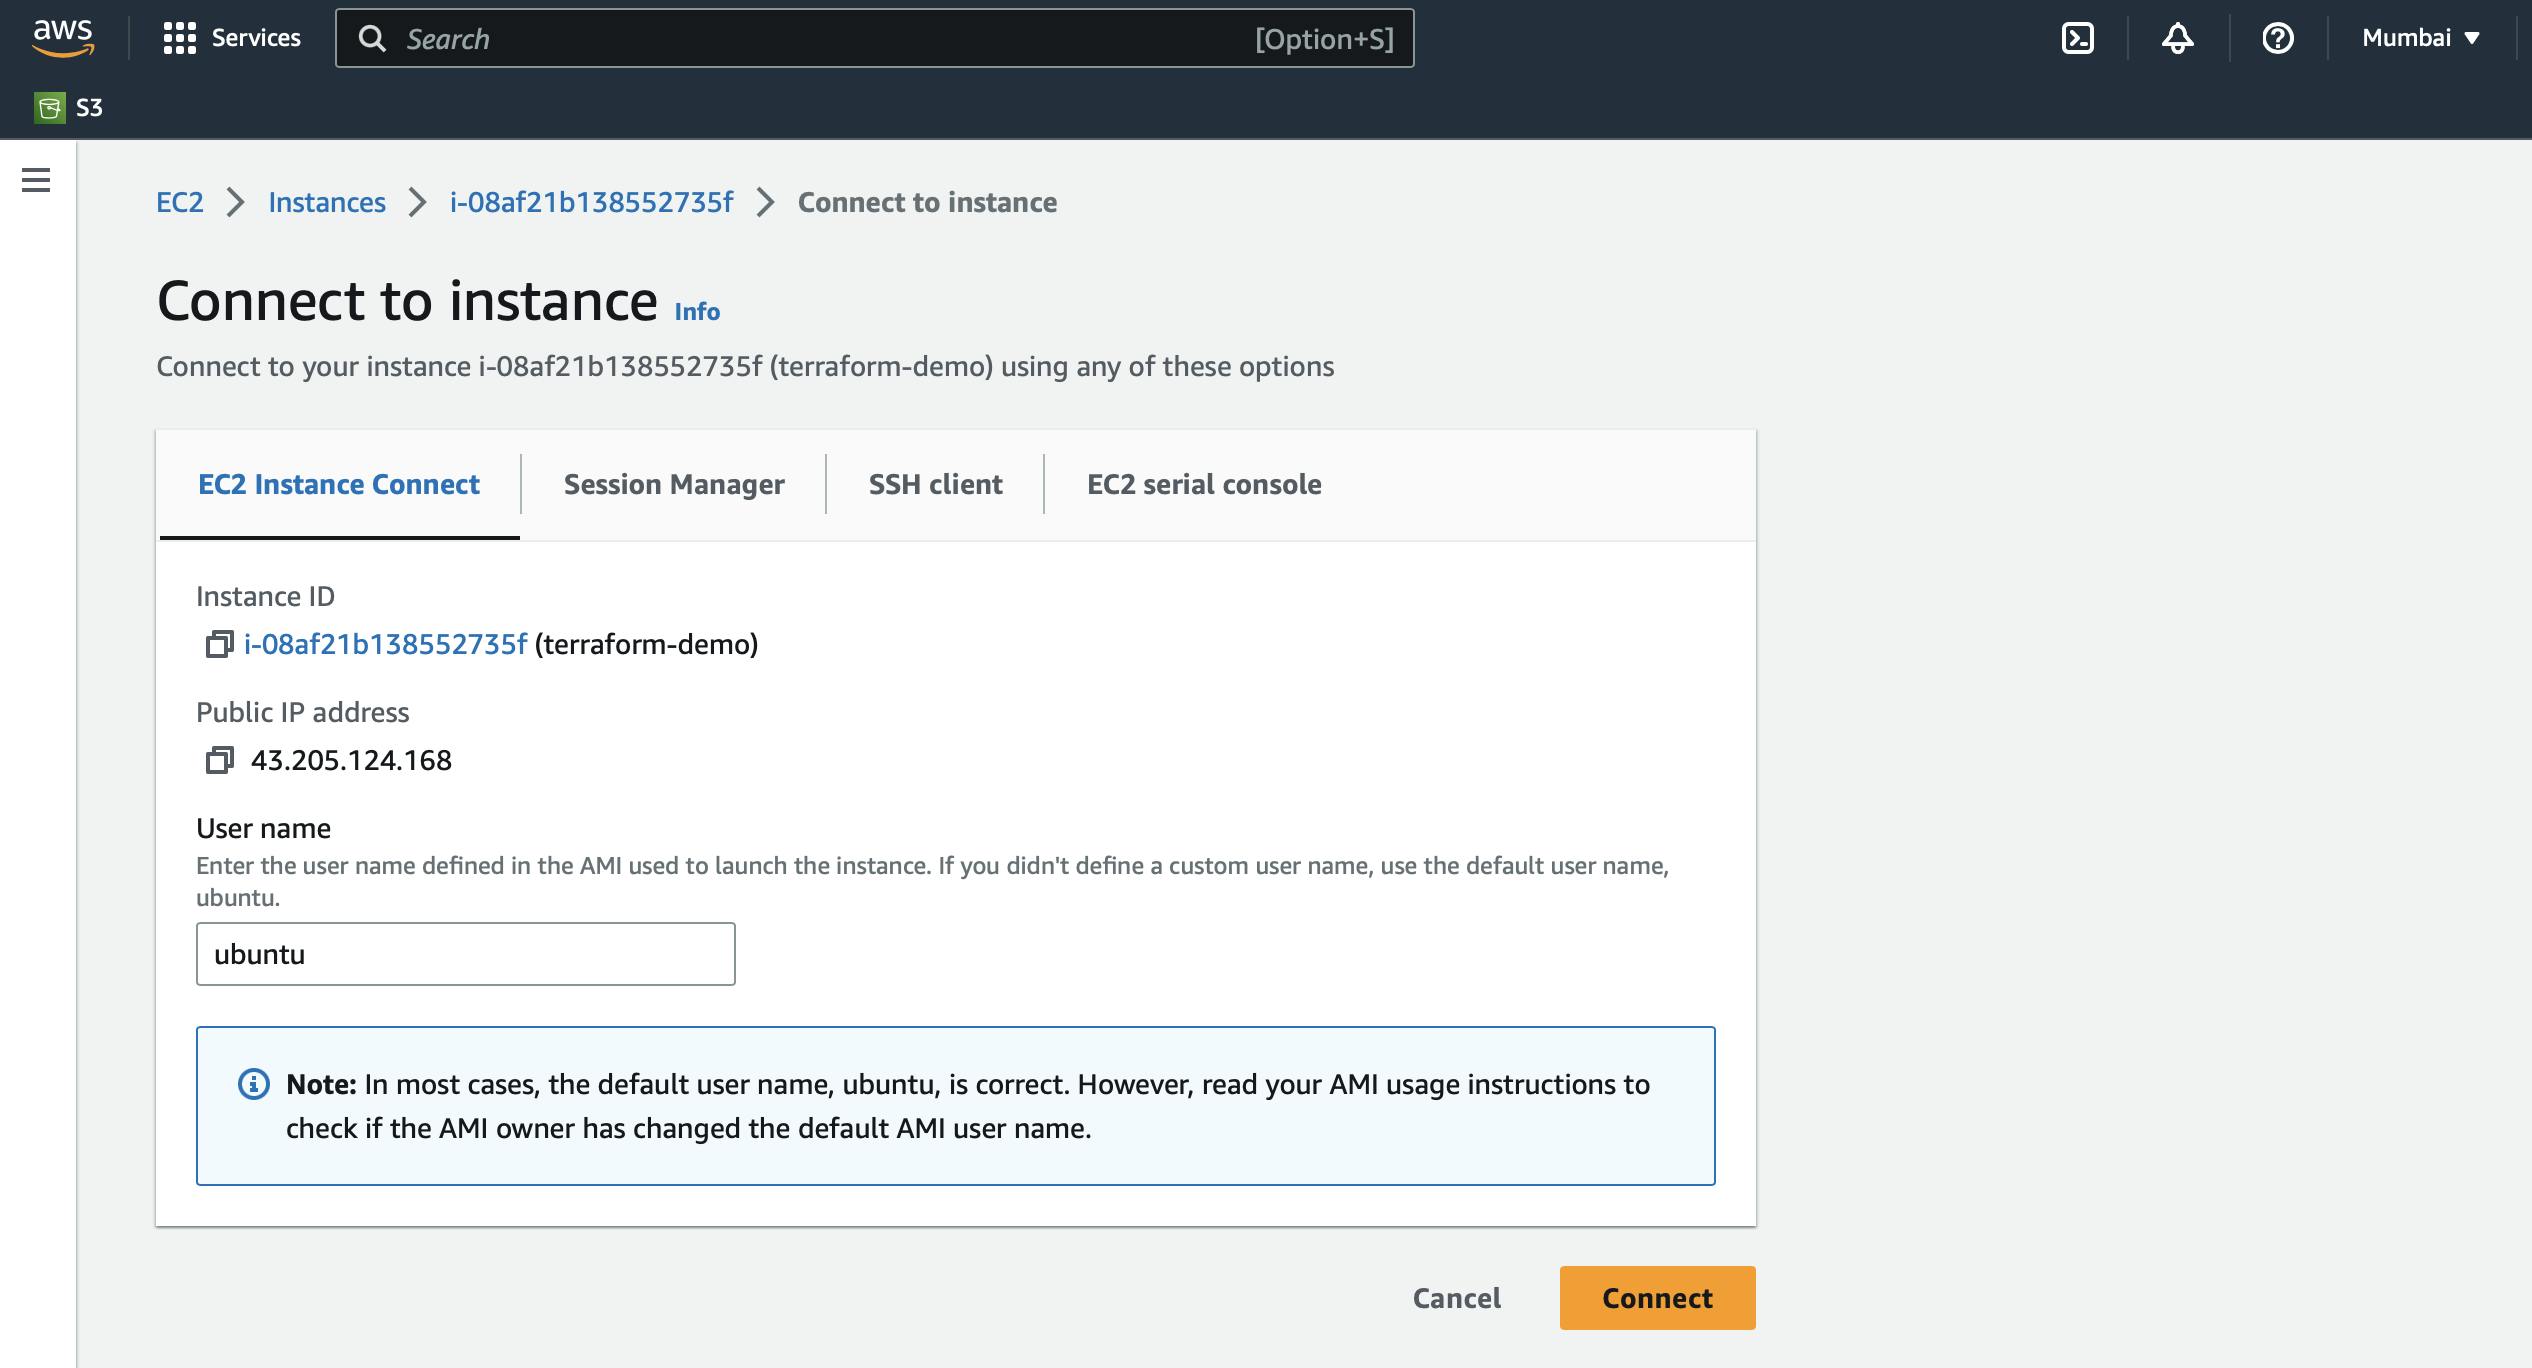
- Open AWS Management Console and launch an EC2 instance with Ubuntu AMI leaving security groups and everything else as it is, also connect to the Instance using EC2 Instance Connect.
Step:2 Installing Terraform on our Ubuntu Server
For installing Terraform on our server these are some commands that should be executing.
Commands:
sudo apt-get update && sudo apt-get install -y gnupg software-properties-common
(Updates and installs necessary packages)wget -O- https://apt.releases.hashicorp.com/gpg |
gpg --dearmor |
sudo tee /usr/share/keyrings/hashicorp-archive-keyring.gpg
(Installs the HashiCorp GPG Key)gpg --no-default-keyring
--keyring /usr/share/keyrings/hashicorp-archive-keyring.gpg
--fingerprint
(Verifies the key's fingerprint)
Output:

echo "deb [signed-by=/usr/share/keyrings/hashicorp-archive-keyring.gpg]
https://apt.releases.hashicorp.com $(lsb_release -cs) main" |
sudo tee /etc/apt/sources.list.d/hashicorp.list
(Add the official HashiCorp repository to our system)sudo apt update
sudo apt-get install terraform
(Terraform Installed, verify using terraform -help command)
Step:3 Configuring AWS CLI & Exporting Keys
- As mentioned in prerequisites that we have programmatic access so we will hit the command: "aws configure" and enter our Secret & Access Keys.

Now we will export the secret & access Keys as exporting the access key ID and secret access key as environment variables allow us to separate sensitive information from your Terraform code and configuration. It provides a layer of abstraction and makes it easier to manage and rotate your credentials without modifying the Terraform code itself.
Commands:
export AWS_SECRET_KEY_ID:<Secret_Key>
export AWS_ACCESS_KEY_ID:<Access_Key>
Step:4 Creating Terraform file for creating EC2 instance
Create a directory in a directory
"mkdir terraform-demo"
"cd terrafom-demo/""mkdir terraform-aws"
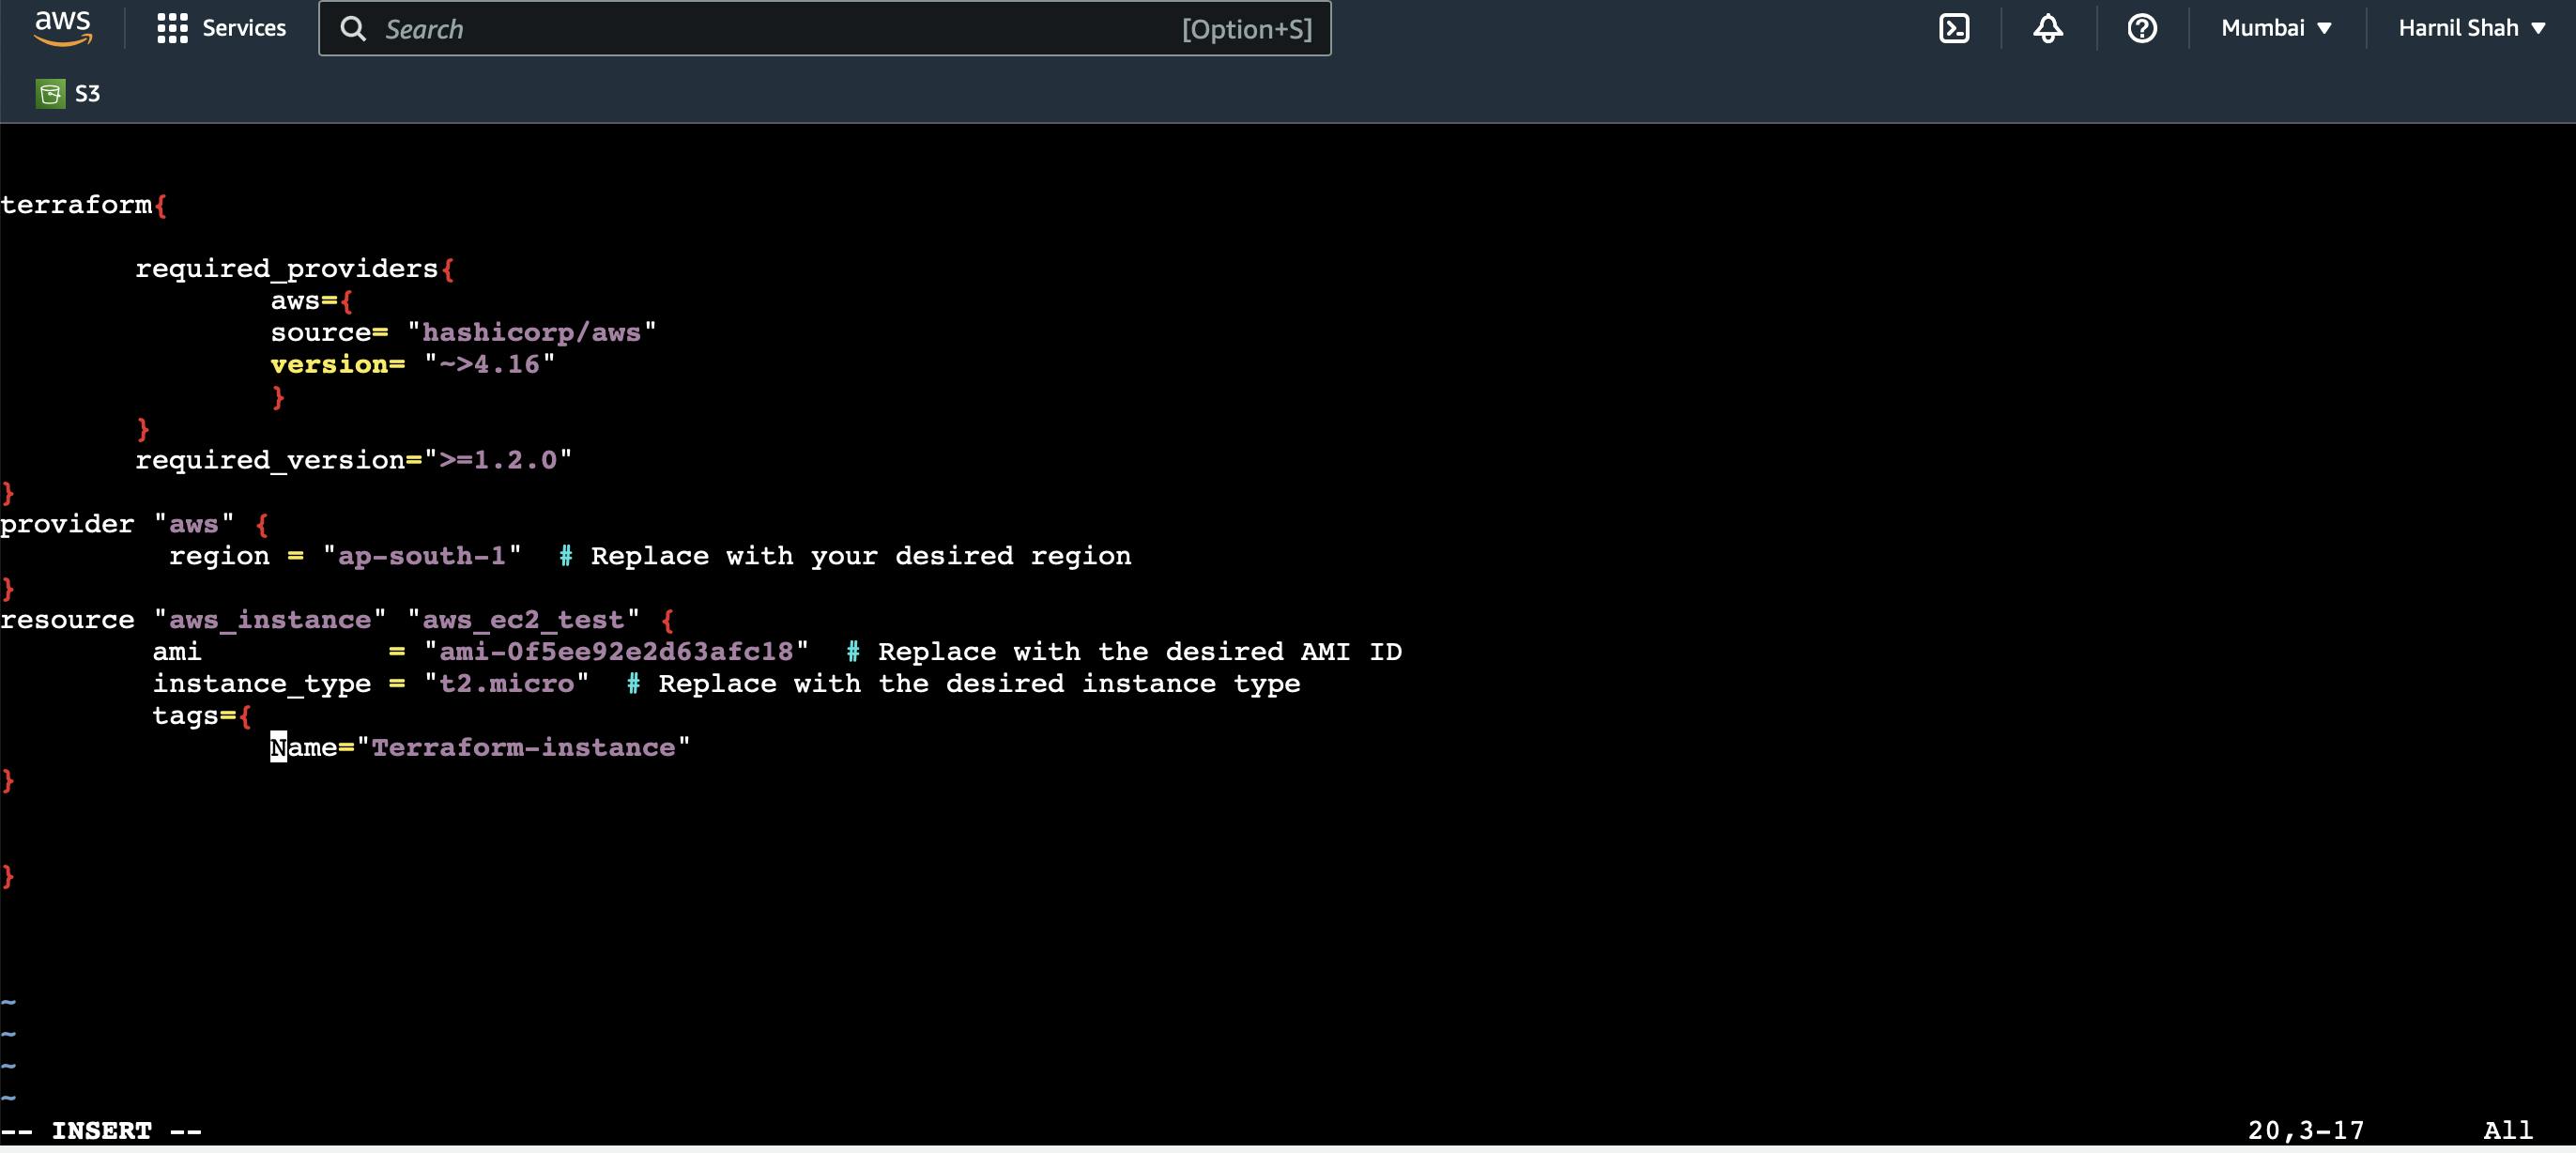
"cd terraform-aws/"Now, create a file named in the directory "main.tf" which is a terraform file
"vim main.tf"terraform{
required_providers
{
aws={
source= "hashicorp/aws"
version= "~>4.16"
}
}
required_version=">=1.2.0"
}
provider "aws"
{
region = "ap-south-1" # Replace with your desired region
}
resource "aws_instance" "aws_ec2_test"
{
ami = "ami-0f5ee92e2d63afc18" # Replace with the desired AMI ID instance_type = "t2.micro" # Replace with the desired instance type tags={ Name="Terraform-instance"
}
Execute Terraform commands:
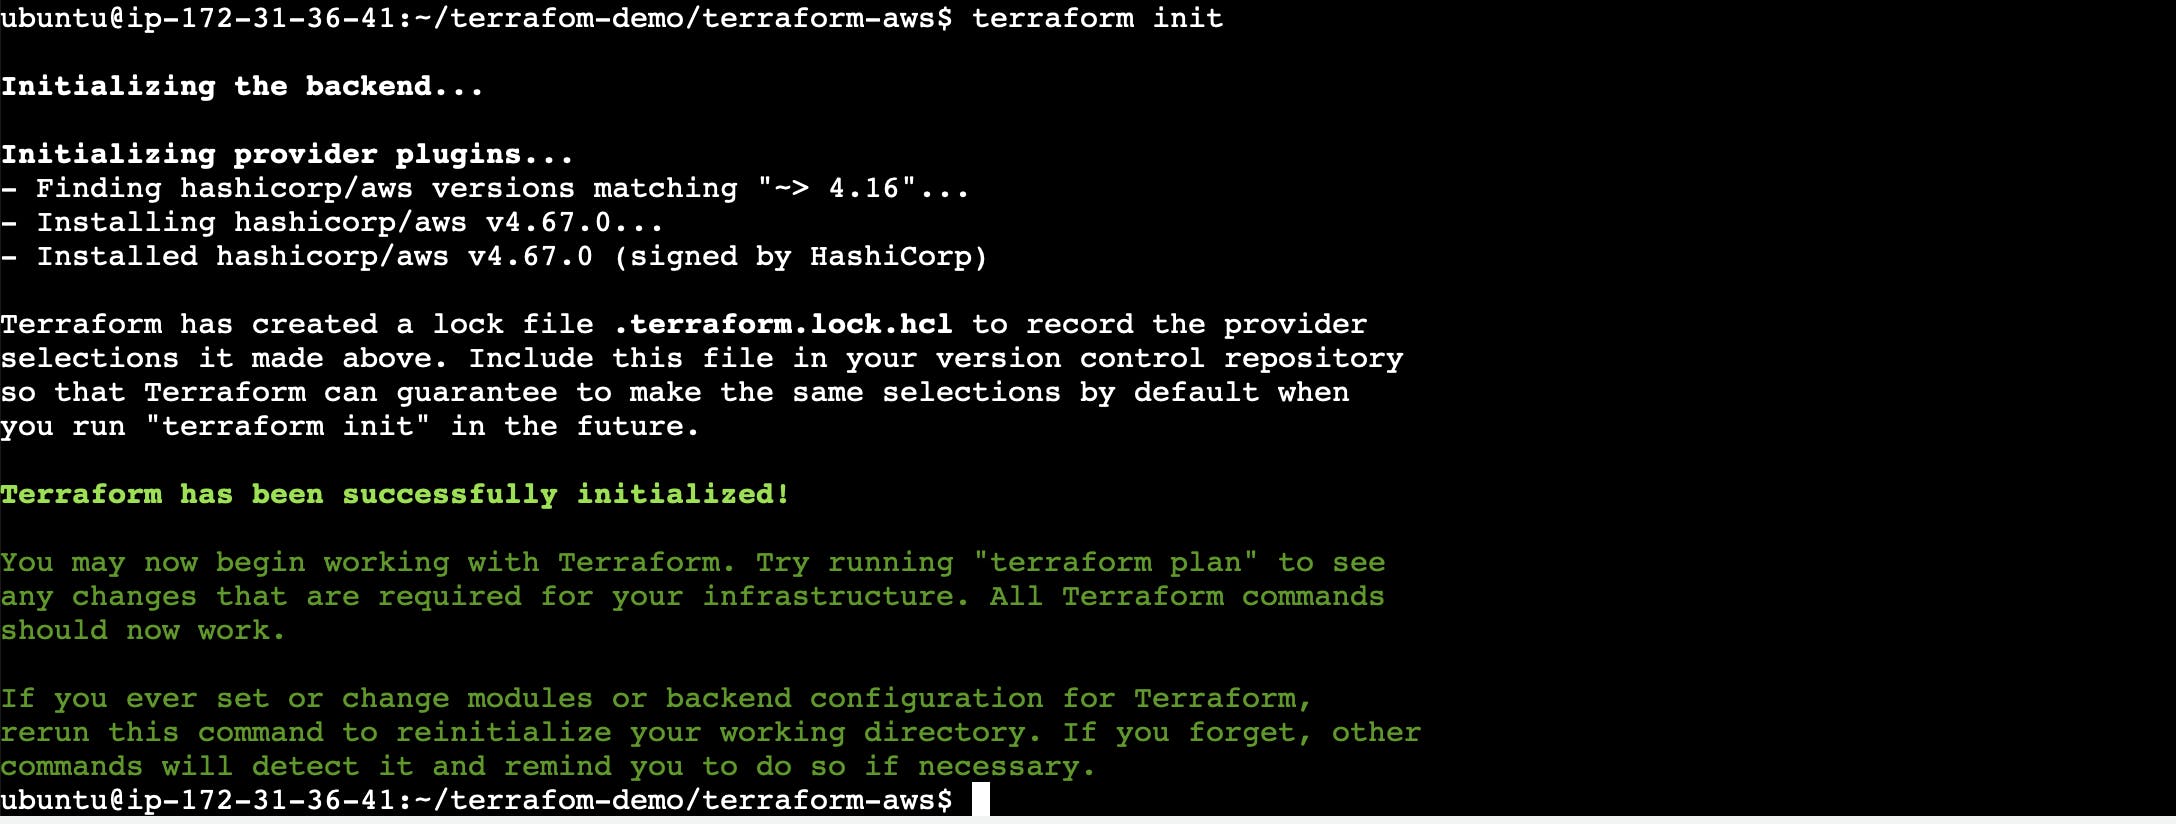
terraform init: The
terraform initcommand initializes a Terraform working directory. It is typically the first command you run in a new Terraform project or when you introduce new providers or modules to an existing project.Output:
terraform plan: The
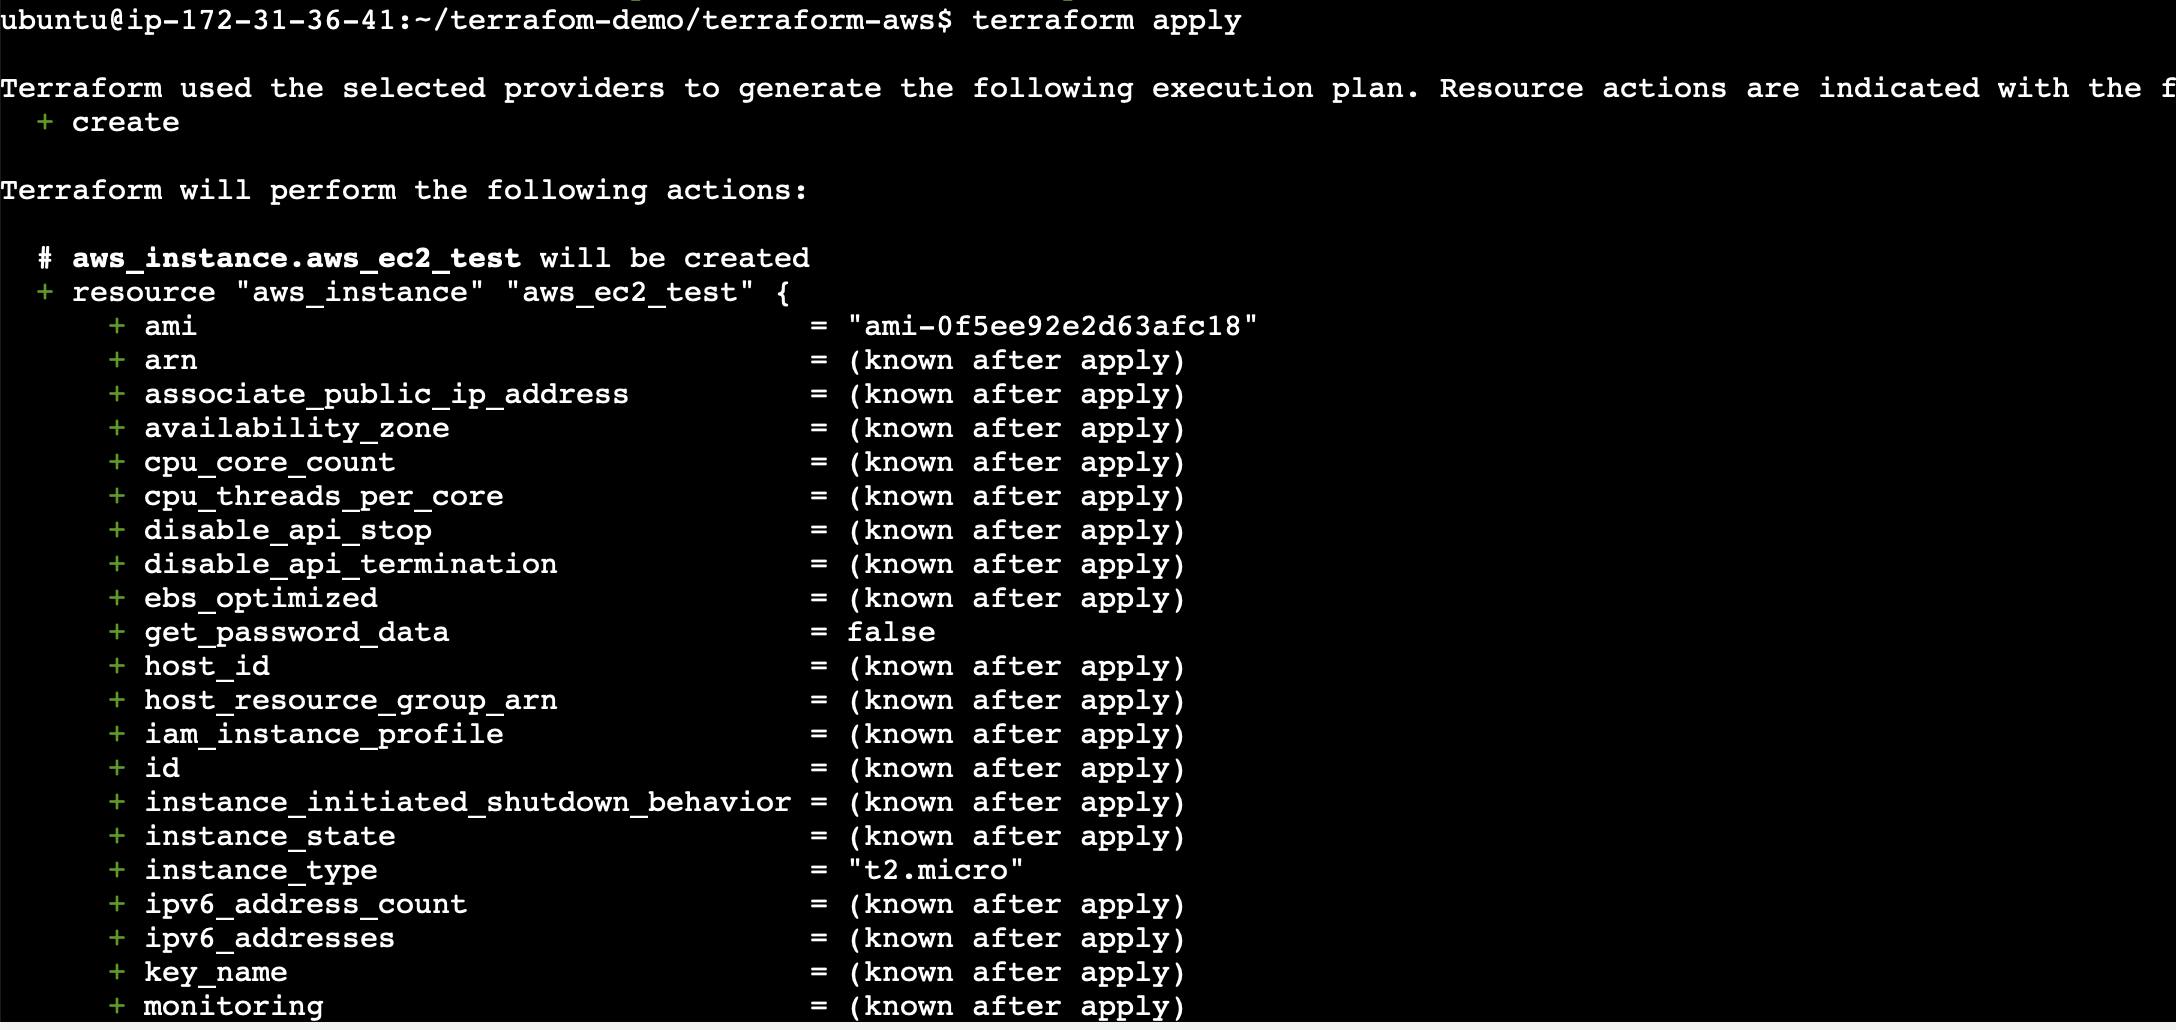
terraform plancommand creates an execution plan. It compares the current state of your infrastructure with the desired state defined in your Terraform configuration files. It does not make any changes to your infrastructure but provides a detailed summary of what Terraform intends to do.terraform apply: The
terraform applycommand applies the changes defined in your Terraform configuration to the target infrastructure. It creates, modifies, or deletes resources based on the instructions provided in your configuration files.
Output:
Verification of AWS EC2 creation:
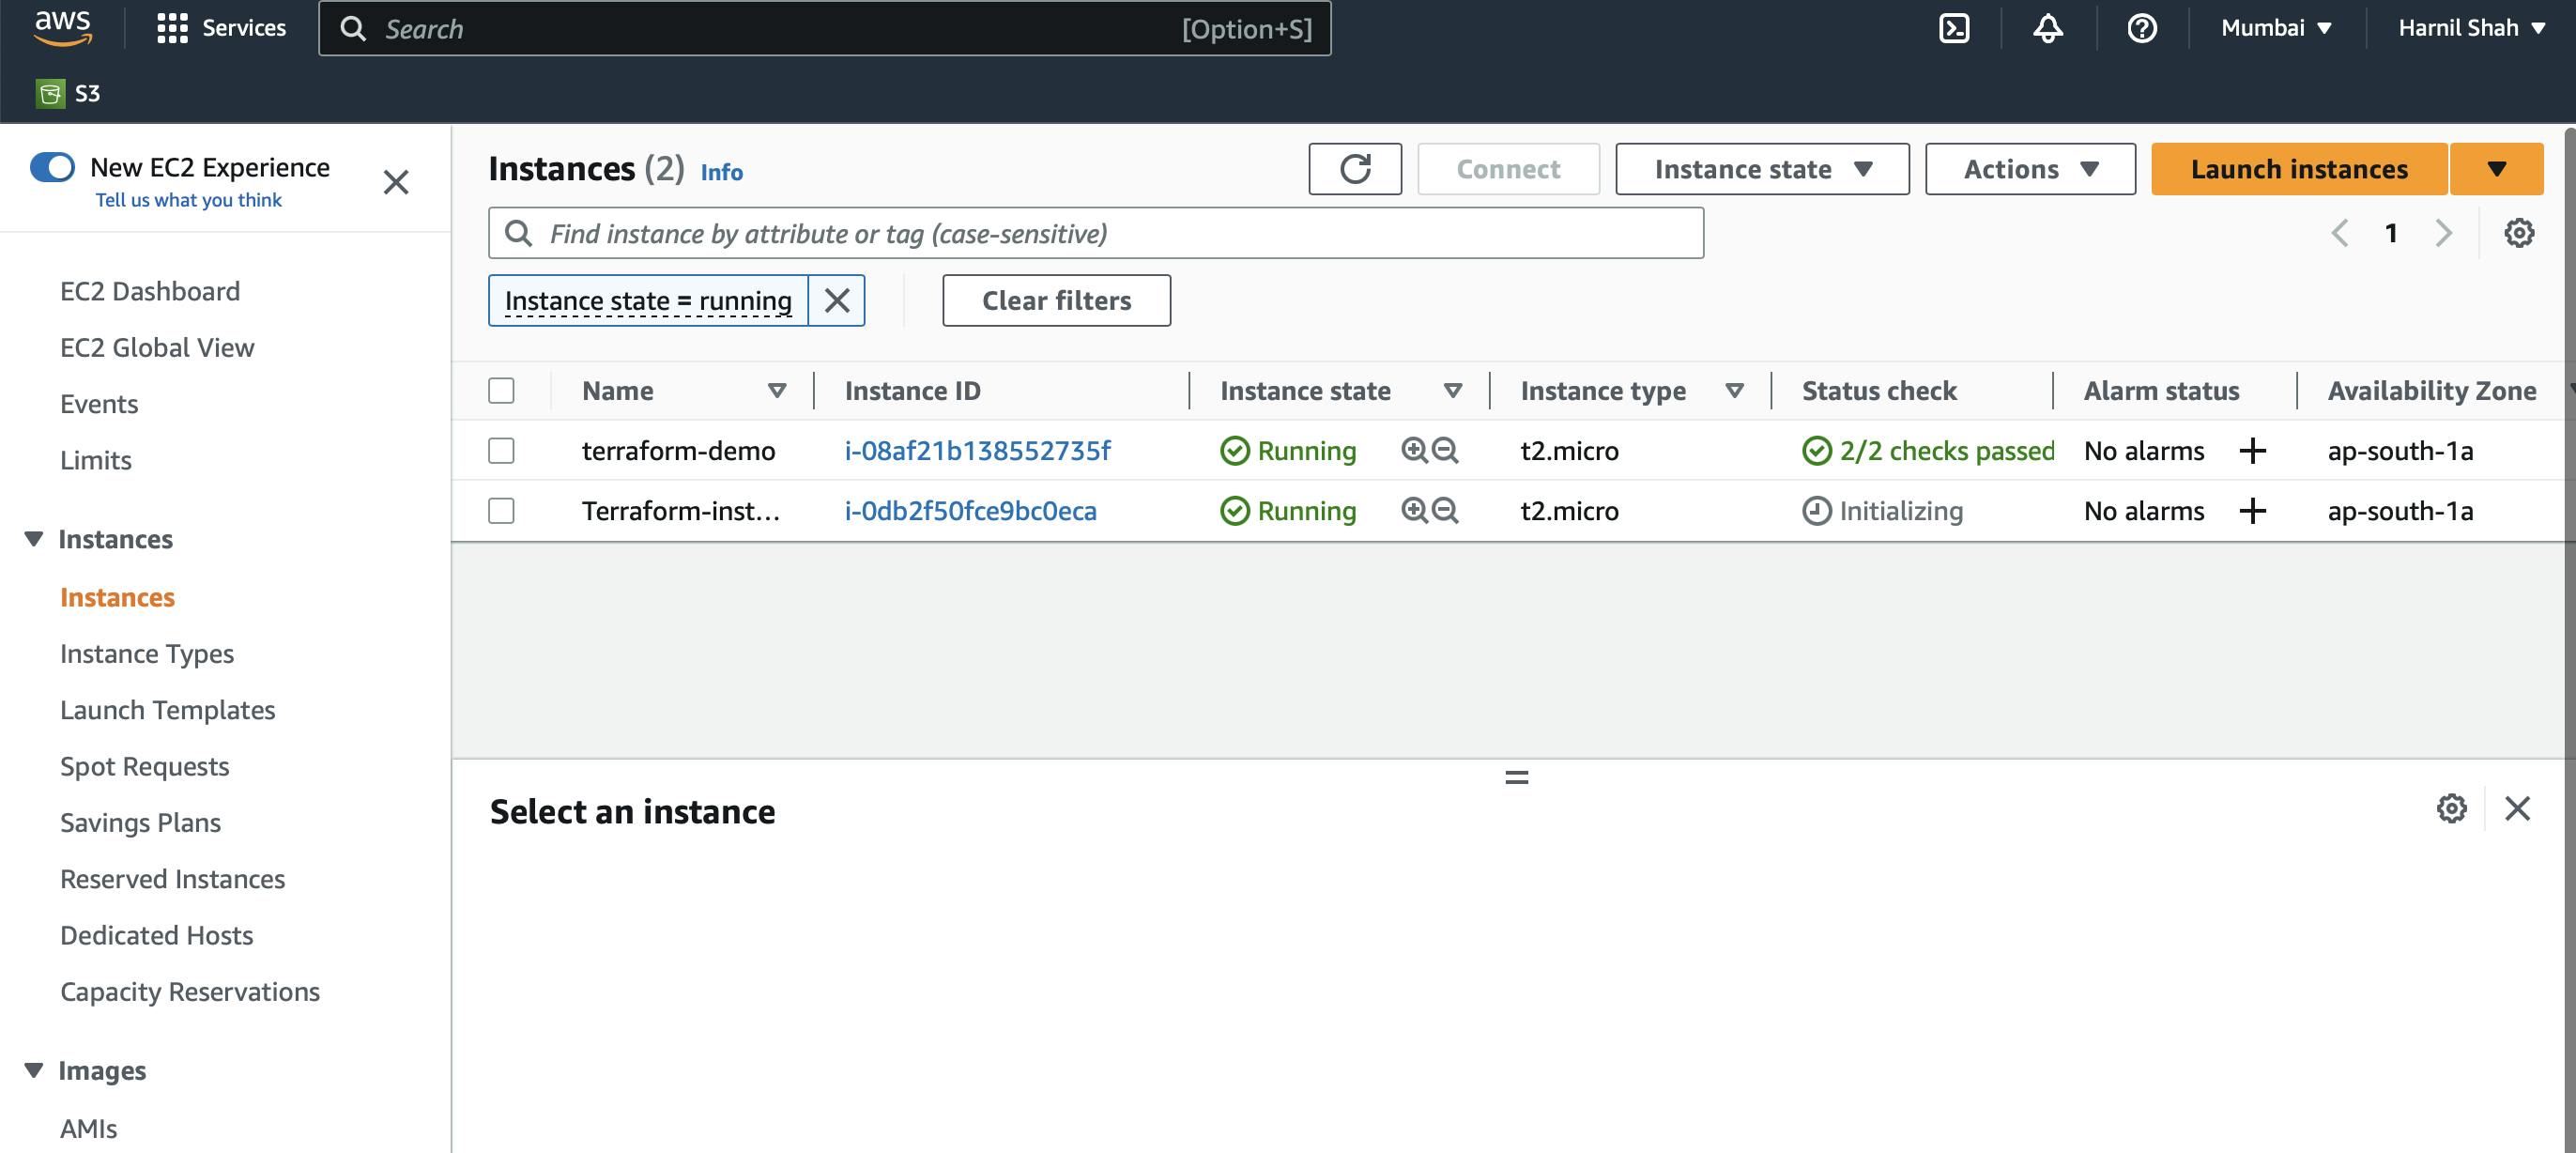
As we can see we have our new server with the name "terraform-instance" that we mentioned in our tag, hence our ec2 creation is successful.
WHAT.....IF I want to create more than one instance using same script?
Solution: Simply add count in the resource as the number of instance you want, here's the updated code:
resource "aws_instance" "aws_ec2_test" {
count=4 # Replace this number with the number of instance you need
ami = "ami-0f5ee92e2d63afc18" # Replace with the desired AMI ID instance_type = "t2.micro" # Replace with the desired instance type
tags={
Name="Terraform-instance"
}
}
After updating this execute --> terraform init, terraform plan, terraform apply
Output:

As we can see total 4 instances are created by the tag of "terraform-instance".
Step 5: Creating S3 bucket using Terraform
We only have to add S3 resource with its configurations in our previous script to add a bucket to our console.
Updated Code:
terraform{
required_providers
{
aws={
source= "hashicorp/aws"
version= "~>4.16"
}
}
required_version=">=1.2.0"
}
provider "aws"
{
region = "ap-south-1" # Replace with your desired region
}
resource "aws_instance" "aws_ec2_test"
{
ami = "ami-0f5ee92e2d63afc18" # Replace with the desired AMI ID instance_type = "t2.micro" # Replace with the desired instance type tags={ Name="Terraform-instance"
}
}
resource "aws_s3_bucket" "aws_s3_test"
{
bucket = "harnilshah123456" # Replace with your desired bucket name
}
By applying terraform init, plan, apply it will create a S3 bucket.
WARNING: Keep bucket_name unique otherwise it will throw error.
Output:
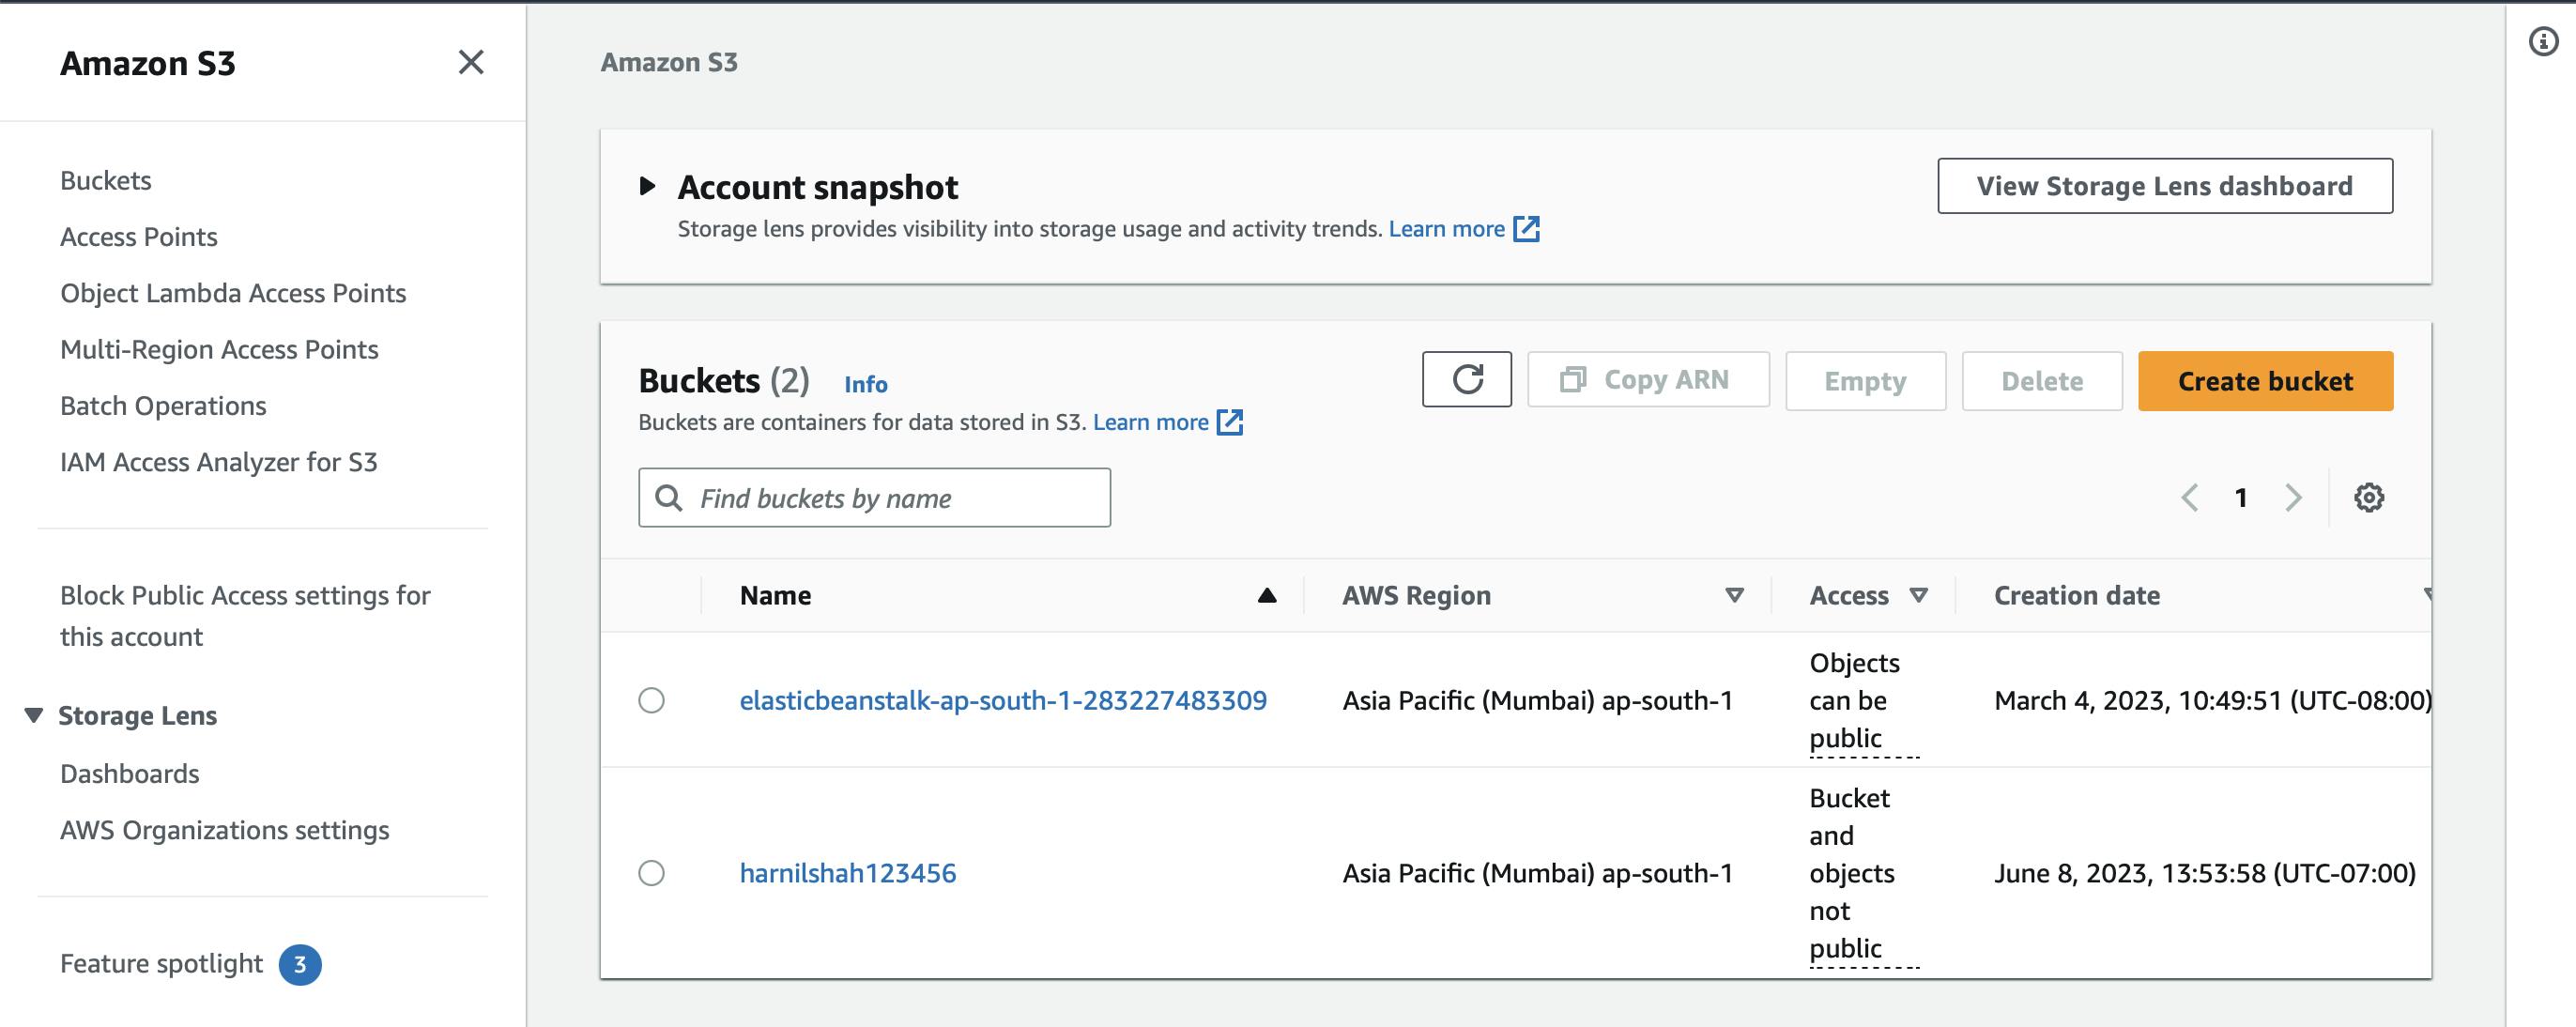
Hence, output shows that our bucket is been created by the name: "harnilshah123456".
- Don't forget to destroy the infrastructure if it's not needed, you can use "terraform destroy" command to destroy the infrastructure.